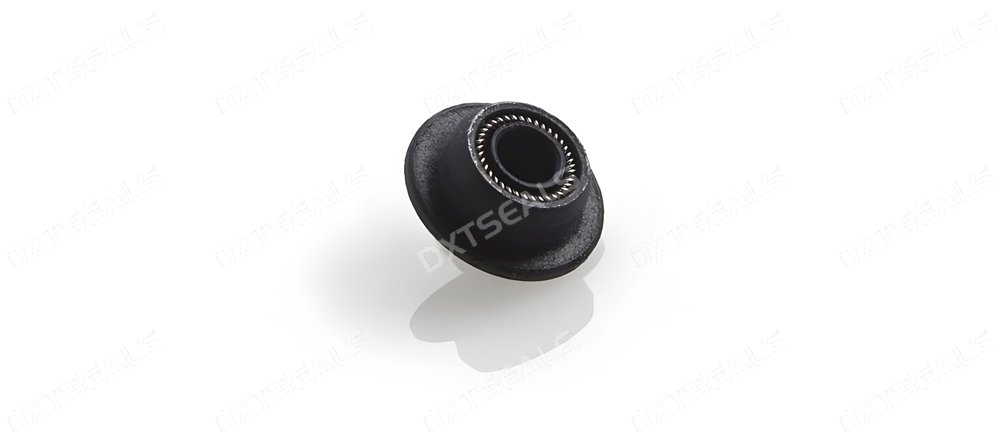
Sealing components play a vital role in ensuring the efficiency, safety, and longevity of mechanical systems. Whether it’s an O-ring, oil seal, shaft seal, or a complex gasket, correct installation is key to maintaining leak-free and high-performance operation. Unfortunately, improper installation remains one of the leading causes of premature seal failure. This article outlines the correct installation steps and analyzes the most common mistakes to help you get the best performance from your sealing components.
1. Preparation Before Installation
Cleanliness Is Critical
Before installation, ensure that all surfaces, including shafts, housings, grooves, and tools, are clean and free of debris, dust, oil, or old sealing residue. Contamination during installation can lead to premature leakage and damage.
Check the Compatibility
Ensure that the sealing component material is compatible with the medium (e.g., oil, gas, chemicals), operating temperature, and pressure. At DXTSEALS, we offer material selection guidance to help you choose the right seal for your conditions.
Inspect the Seal and Surfaces
Look for signs of damage, cracks, or deformation in the new seal. Also inspect mating surfaces for scratches or burrs that may tear the seal during installation.
2. Correct Installation Steps for Sealing Components
-
Step 1: Lubricate the Seal
Use the recommended lubricant or process fluid to lightly coat the seal. This reduces friction and helps the seal seat properly without twisting or damage. -
Step 2: Align the Seal Properly
Align the seal correctly to the groove or shaft to avoid off-center installation which can cause uneven wear. -
Step 3: Use Appropriate Tools
Use specialized installation tools such as seal drivers or press-fit tools to avoid using screwdrivers or hammers which can deform the seal. -
Step 4: Apply Even Pressure
Press the seal slowly and evenly into place. Uneven pressure can cause one side to seat deeper than the other, leading to misalignment and eventual failure. -
Step 5: Final Inspection
Ensure the seal sits flush and isn’t pinched, twisted, or protruding. A properly installed seal will have even contact with the mating surfaces.
3. Common Mistakes to Avoid
-
Installing Dry Seals
Installing seals without lubrication can cause excessive friction, resulting in immediate wear or damage. -
Using the Wrong Size
Trying to install a seal that doesn’t match the groove or shaft size exactly can result in leakage and failure. Always verify dimensions precisely. -
Twisting or Overstretching
O-rings and rubber seals can easily be damaged if twisted or overstretched during installation. -
Ignoring Surface Finish
Rough or uneven surfaces can cut or tear seals. Use shafts and housings with proper surface finishes (usually Ra ≤ 0.8 μm for dynamic seals). -
Improper Tool Usage
Avoid makeshift tools. Metal tools without protection can scratch or deform the seal and mating surfaces.
4. Best Practices and Recommendations
-
Train personnel on proper installation procedures
-
Use seal installation guides and lubricants recommended by the manufacturer
-
Store seals properly to avoid deformation
-
Replace old or hardened seals instead of reusing them
-
For critical applications, consider using pre-assembled seal kits from trusted manufacturers like DXTSEALS
Conclusion
Correct installation of sealing components is essential for achieving optimal sealing performance and avoiding costly repairs or downtime. By understanding and following the proper steps—and steering clear of common mistakes—you can significantly extend the life of your seals and equipment. DXTSEALS provides high-quality seals and expert support to ensure your success in every sealing application.
