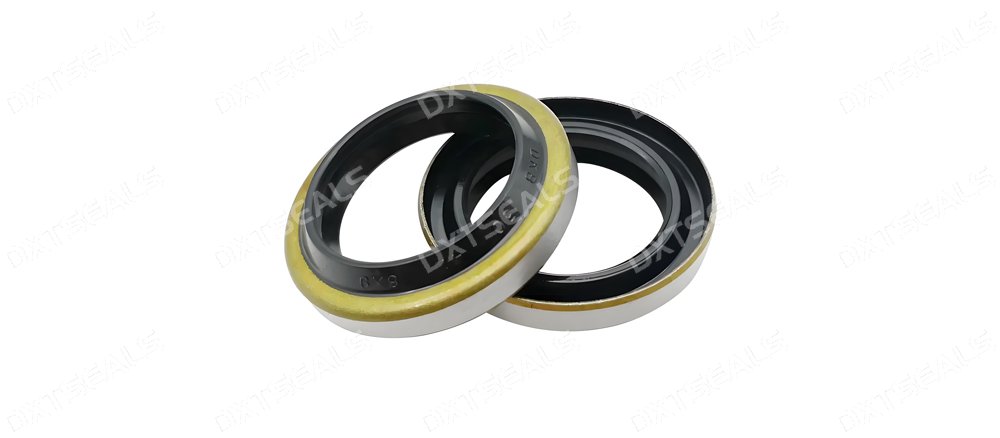
Oil seals, also known as rotary shaft seals, are essential components in machinery, preventing lubricant leakage and keeping contaminants out. However, even the best-quality oil seal can fail prematurely if not installed correctly. Whether you're in automotive repair, manufacturing, or heavy machinery maintenance, proper oil seal installation is crucial to long-term system performance.
In this article, we’ll explore five critical points to keep in mind during the oil seal installation process, helping you avoid common mistakes and ensure optimal sealing performance.
✅ 1. Inspect the Shaft and Housing Before Installation
Before installing an oil seal, carefully inspect the shaft surface and housing bore for any imperfections.
-
Check for scratches, dents, or wear on the shaft that may damage the seal lip or reduce sealing effectiveness.
-
The shaft surface roughness should meet required specifications (usually Ra 0.2–0.8 µm).
-
Ensure the housing bore is clean, free from debris, and has the correct dimensions for a tight, even fit.
Tip: If the shaft is worn, consider installing a wear sleeve to restore the proper surface.
✅ 2. Choose the Right Seal Material and Type
Using the wrong seal material or lip configuration can result in premature wear or failure.
-
For high temperatures, use FKM (Viton) or PTFE seals.
-
For abrasive environments, select seals with dust lips or wiper features.
-
Consider shaft rotation direction—some seals are directional, some are bi-directional.
Tip: Refer to the equipment manufacturer’s recommendations or consult sealing experts like DXTSEALS.
✅ 3. Lubricate the Seal and Shaft Properly
Lubrication is essential to reduce friction and heat during initial start-up.
-
Lightly coat the seal lip and shaft surface with compatible lubricant before installation.
-
Avoid using excessive grease, which can prevent the seal from seating properly.
Tip: For double-lip seals, make sure to lubricate both lips to prevent dry running.
✅ 4. Use the Correct Installation Tools
Improper tools or techniques can damage the seal during installation.
-
Always use a seal driver or press tool designed for the specific seal size.
-
Do not use hammers, screwdrivers, or excessive force that may deform the seal or lip.
Tip: A seal installation sleeve can guide the seal over the shaft smoothly and protect the lip from sharp edges.
✅ 5. Ensure Proper Alignment and Seating
Misalignment is a common cause of seal leakage.
-
The seal must be pressed evenly and squarely into the bore.
-
Verify the installation depth, especially for seals with stop flanges or shoulders.
-
Avoid tilting or twisting the seal during insertion.
Tip: After installation, visually inspect the seal to ensure it is fully seated and aligned with the shaft axis.
⚠️ Common Installation Mistakes to Avoid
| Mistake | Consequence |
|---|---|
| Using incorrect seal type | Early leakage or material degradation |
| No lubrication | Lip damage and high wear |
| Misalignment during fitting | Uneven sealing and premature failure |
| Dirty shaft or housing | Abrasion, contamination, or poor seal |
| Hammering the seal directly | Deformed seal, cracked housing |
🔍 Why Choose Quality Oil Seals from DXTSEALS?
At DXTSEALS, we provide high-performance oil seals designed to withstand demanding environments. Our seals are engineered with:
-
Precision-molded elastomers
-
Reinforced metal casings
-
Dust-exclusion lips
-
Customizable materials for temperature, pressure, or chemical resistance
We also provide technical support to help you choose and install the right seal for your application.
🔗 Visit: www.dxtseals.com
🧭 Conclusion
Installing oil seals may seem straightforward, but attention to details during installation is key to ensuring long-lasting seal performance. By following these five critical tips—shaft inspection, material selection, lubrication, correct tooling, and proper alignment—you can avoid early failures and costly downtime.
For expert sealing solutions and technical support, trust DXTSEALS—your partner in high-performance industrial sealing.
